How to judge whether an HDPE electrofusion fitting is qualified
 2025.09.15
 Industry news
Electrofusion technology is widely used in HDPE pipe projects. Ensuring joint quality is crucial for the safe operation of the pipeline network. A qualified electrofusion joint requires not only a flawless appearance but also a stable internal structure and reliable long-term performance.
Verifying Welding Parameters and Process Data
The correctness of the welding process is a prerequisite for a qualified joint. Modern electrofusion welders often have data logging capabilities, which are the primary basis for determining joint quality.
Parameter Compatibility: Verify that the welding parameters (voltage, time) recorded by the welder are identical to the standard parameters indicated on the barcode of the electrofusion pipe fitting. Any deviation, even minor, can result in incomplete welding or overheating, affecting joint performance.
Welding Status Feedback: Check the welding status displayed on the welder screen. A normal welding cycle should include preheating, melting, and cooling, with no abnormal alarms. If a "Weld Failed" or "Error" message appears, the joint must be considered unqualified.
Cooling Time: Ensure that the actual cooling time meets or exceeds the minimum cooling time specified for the pipe fitting. Insufficient cooling can cause the molten area to deform under stress, weakening the joint strength.
Visual Inspection: Macroscopic and Microscopic Characteristics
Visual inspection is the most direct and quickest method for on-site evaluation, as it can reveal surface phenomena during the welding process.
Observing the Melt Bead:
Uniformity: Check whether the melt bead forms a continuous, uniform ridge around the joint between the fitting and the pipe. A uniform melt bead indicates that the electric fuse wire is heating evenly and the fusion zone is sufficient.
Size and Shape: The size of the melt bead should be within the range specified by the fitting manufacturer. A larger size may indicate overheating, while a smaller size may indicate incomplete fusion. It should be a smooth arc shape with no obvious indentations or sharp protrusions.
Inspecting the Indicator Pin:
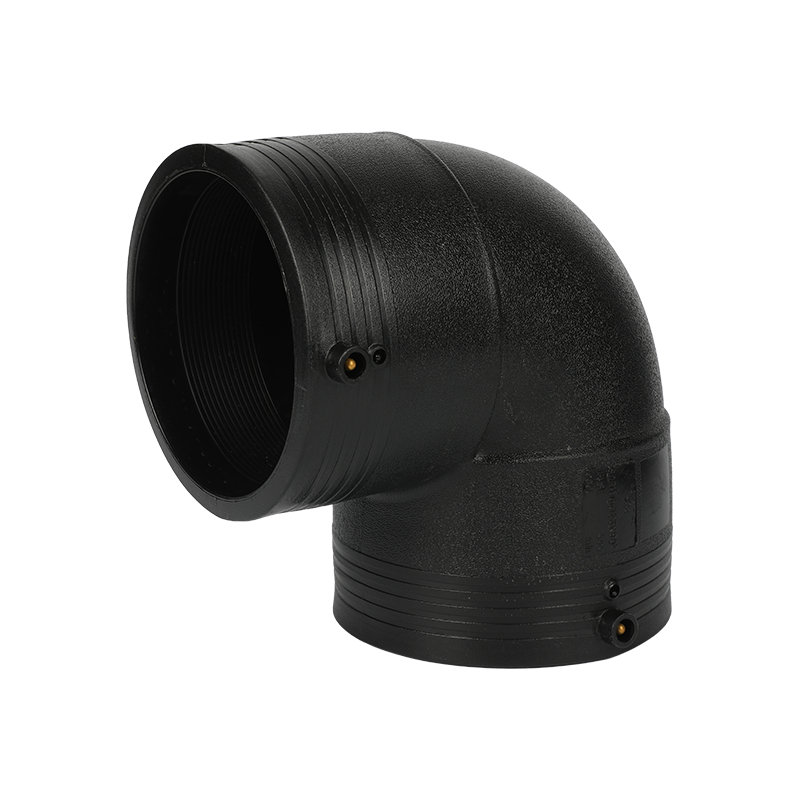
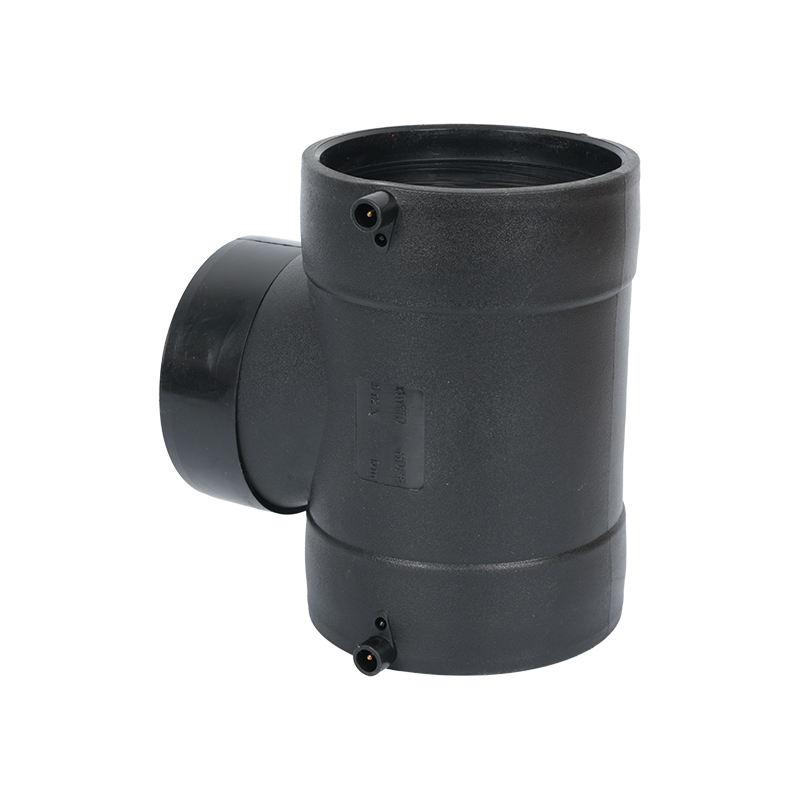
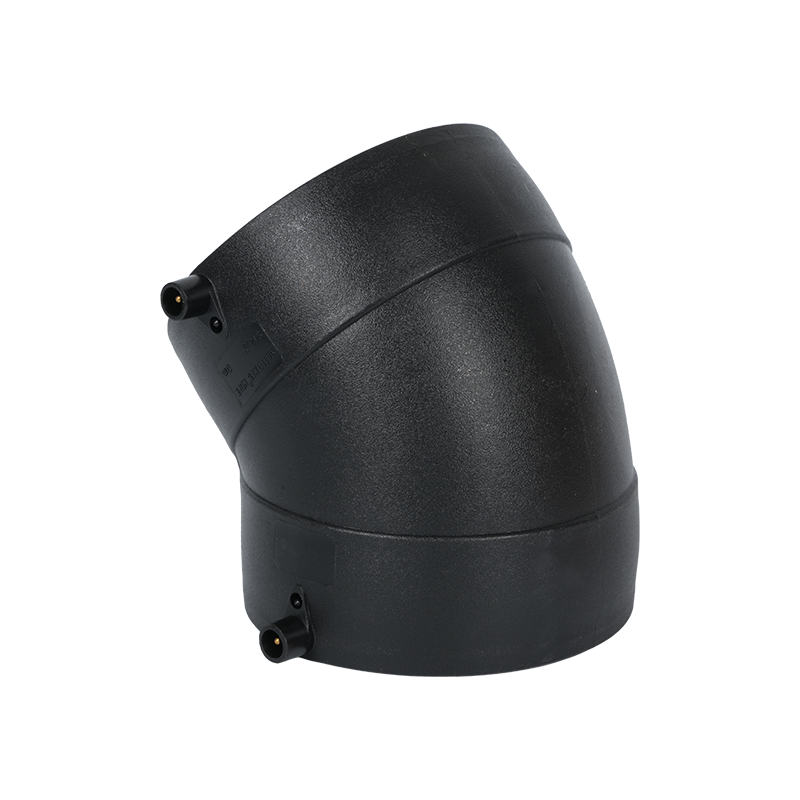
Many HDPE electrofusion fittings are designed with an indicator pin. During welding, as the melt inside the fitting expands, the indicator pin will push out from the fitting surface.
A qualified joint requires the indicator pin to be fully pushed out and stable. If the indicator pin does not push out or only partially pushes out, it usually indicates insufficient fusion and possible weld failure. Alignment and Clearance between Fittings and Pipes:
Check that the fittings and pipes are properly aligned and free of significant misalignment. Check that the pipe insertion depth meets the requirements.
Before welding, there should be an appropriate gap between the pipe and fitting. After welding, the molten material should evenly fill the gap.
Surface Cleanliness and Damage:
Inspect the joint surface for signs of scorching, blackening, or overheating, which are signs of improper welding.
Check that the scraped area of the pipe is clean, free of scratches, and oil. Incomplete scraping or damage to the pipe surface will affect weld quality.
Nondestructive Testing: In-depth Quality Verification
For critical engineering projects, in addition to visual inspection, nondestructive testing methods are also required to verify the internal quality of the joint.
Ultrasonic Testing:
Using the principle of ultrasonic wave propagation and reflection in materials, it can detect voids, inclusions, or incomplete welds within the joint.
The ultrasonic probe is moved along the joint surface. If the received echo signal is abnormal, internal defects may be present.
X-ray Testing:
X-rays are used to penetrate the joint and capture images of the internal structure. X-rays can clearly demonstrate the integrity of the weld surface and the presence of pores, condensation, or foreign matter.
This method provides a direct visual image of internal defects, but is costly and is typically used in high-pressure, high-risk piping systems.
Destructive Testing: Final Performance Verification
Destructive testing is essential for final performance verification of a batch of products or a specific joint.
Peel Test:
A welded joint is mechanically peeled apart.
An acceptable joint should exhibit plastically ductile fracture during peeling, and the fracture should occur on the pipe or pipe itself, not on the weld surface. Fracture occurring directly on the weld surface indicates insufficient weld strength.
Tensile Test:
A tensile test is performed on a welded joint to measure its tensile strength.
An acceptable joint should have a tensile strength equal to or close to the strength of the pipe material itself.
Internal Pressure Burst Test:
After sealing the welded pipe section, the internal pressure is gradually increased until the pipe bursts. For a qualified joint, the bursting point should be at a position far away from the joint, not at the welding area, which proves that the pressure resistance of the joint is better than that of the pipe itself.
KEEP IN TOUCH


