How to determine whether the pressure is uniform during HDPE butt fusion fitting welding
 2025.08.04
 Industry news
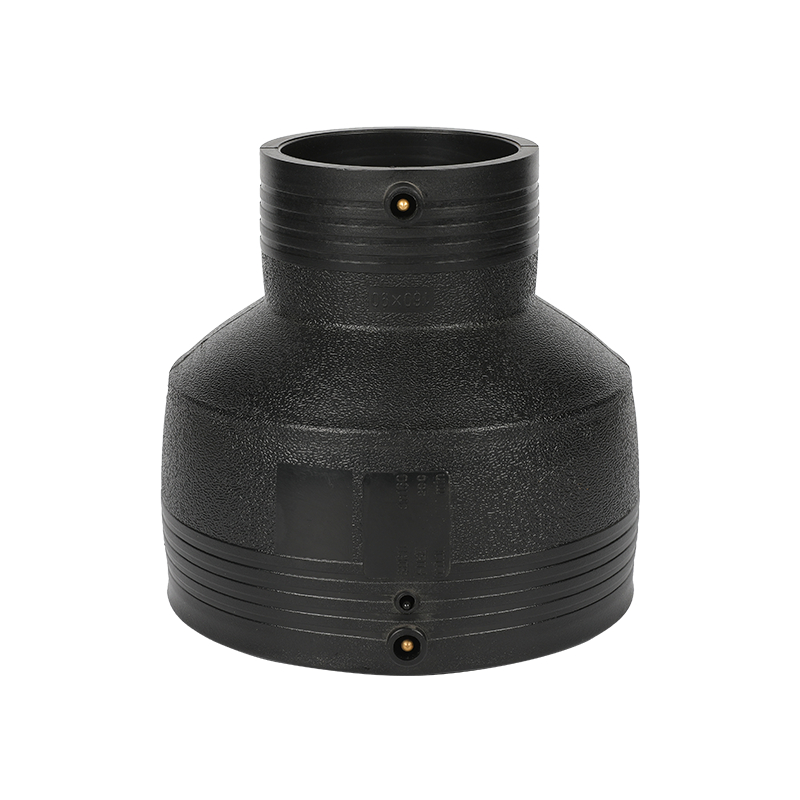
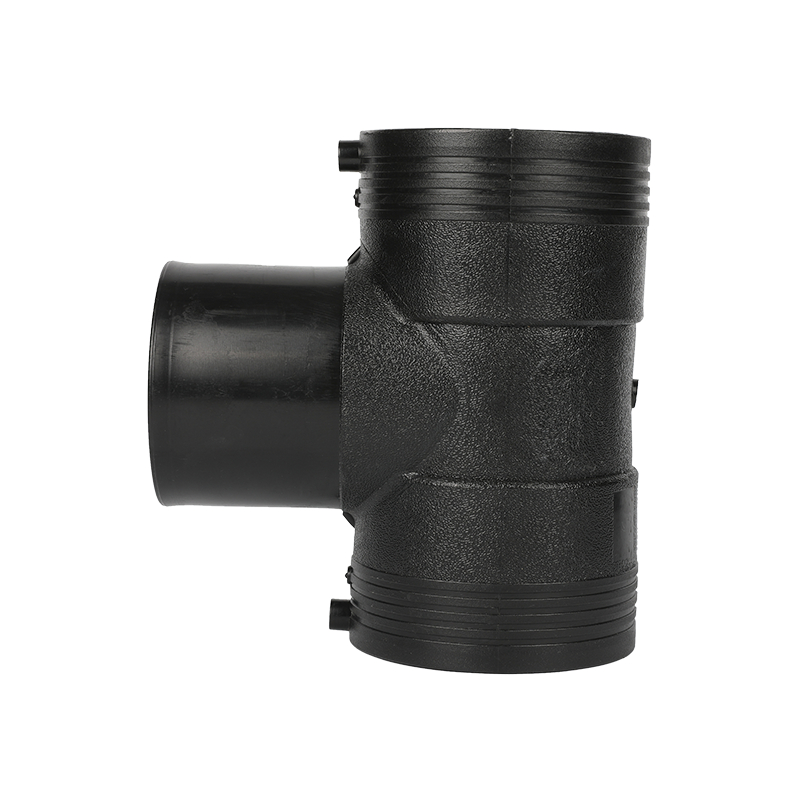
HDPE butt fusion fitting is a welding method that heats the end surface of the pipe or pipe fitting and applies a certain pressure to melt and then cool and solidify to achieve high-strength connection. This method requires accurate pressure control during welding. Any uneven pressure may lead to insufficient strength of the welded joint, weld defects or early failure. Determining whether the welding pressure is uniform is the core step to ensure the long-term and stable operation of the HDPE pipeline system.
Effect of welding pressure on joint quality
The pressure applied during hot melt docking must be maintained in a uniform state within an appropriate range. Too small pressure will cause the molten material to not be fully fused, resulting in defects such as cold welding, interlayers, and false welding; too large pressure will cause the molten material to overflow, form metabolism, and even extrude the base material to cause internal stress concentration. In addition, pressure fluctuations will cause uneven heating of the welding interface, reduce the mechanical strength of the joint and increase the risk of pipe bursting. Maintaining the stability and uniformity of welding pressure is an important part of welding quality control.
Methods to determine whether the welding pressure is uniform
1. Check the flange size and shape
After the hot melt butt is completed, a symmetrical flange (bead) will form on both sides of the weld. The size, shape, thickness and symmetry of the flange can be used as an intuitive basis for judging whether the pressure is uniform. In ideal state, the flange should be arc-shaped, symmetrical, and consistent in thickness, without rising, collapse or offset. If one side of the flange is thick or there is an asymmetric bulge, it means that one side is under a large pressure or is not connected properly, and there is a problem of welding pressure deviation.
2. Observe the pressure gauge reading during welding
Standard hot melt docking machines are usually equipped with hydraulic systems and pressure gauge. During the welding process, the pressure value should be strictly controlled within the specification range (generally between 0.15-0.25 N/mm², depending on the diameter and wall thickness). By monitoring the pressure gauge in real time, observing whether there are obvious fluctuations or insufficient pressure is an important means to judge whether the pressure is uniform or not. The welding machine should be calibrated regularly to ensure accurate pressure readings.
3. Check the contact marks of hot plates
During the hot melting process, uniform heating traces should be formed in the contact part of the heating plate and the pipe end. When removing the heating plate after heating, you can observe whether the melted layer has the characteristics of uniform thickness and uniform color at the end of the tube. If local inadequate melting, burning, thin melting layer is found, it may be caused by insufficient local pressure or poor contact.
4. Assess the end-to-end docking situation
Before docking, use an electric milling cutter to trim the end face of the pipe fitting to ensure that the end face is flat and perpendicular to the axis. When connecting, the tight fit of the two end faces should be checked. If there are gaps, inclines, or incomplete contact at the end of the pipe, it will inevitably lead to uneven stress and the welding pressure cannot be transmitted evenly. You can use a micrometer or a light gap meter to detect whether the end surface error is within the allowable range.
5. Use the data recording function of the automated welding machine
Modern automated HDPE welding equipment is equipped with a data recording system, which can automatically record the temperature, time and pressure curves during the entire welding process. By derive the welding data, whether the pressure is stable at each stage, and whether the boosting and holding processes meet the standard settings. An abnormal data curve (such as sudden decline or jump) is an important basis for judging uneven pressure.
6. Conduct weld profile inspection
In actual projects, some welded joints can be sampled and cut and observed the internal fusion of the weld. Under ideal conditions, the welding interface should be free of obvious defects such as layering, pores, inclusions, etc. If the section shows poor fusion or uneven density, it means that the welding pressure control is unstable. Although this method is destructive testing, it is of great guiding significance for quality assessment.
7. Perform welding sample damage test
The mechanical properties test methods such as tensile, bending, and peeling of the test piece are used to check whether the welded joints meet the strength standards of the base material. Failure to meet the test results may be due to insufficient interface fusion caused by uneven pressure. Test data can be used as the basis for process verification and on-site quality control.
8. Observe the changes in welds during cooling
The docking pressure needs to be maintained during the cooling stage after welding to ensure that the molten layer is fully solidified. If the pressure suddenly releases or decreases during the cooling process, weld shrinkage and internal cracks are likely to occur. By continuously observing whether the joints cause warping, flange retraction and other phenomena within a few minutes after cooling, we can judge whether the pressure during the cooling period is uniform.
is a welding method that heats the end surface of the pipe or pipe fitting and applies a certain pressure to melt and then cool and solidify to achieve high-strength connection. This method requires accurate pressure control during welding. Any uneven pressure may lead to insufficient strength of the welded joint, weld defects or early failure. Determining whether the welding pressure is uniform is the core step to ensure the long-term and stable operation of the HDPE pipeline system.
Effect of welding pressure on joint quality
The pressure applied during hot melt docking must be maintained in a uniform state within an appropriate range. Too small pressure will cause the molten material to not be fully fused, resulting in defects such as cold welding, interlayers, and false welding; too large pressure will cause the molten material to overflow, form metabolism, and even extrude the base material to cause internal stress concentration. In addition, pressure fluctuations will cause uneven heating of the welding interface, reduce the mechanical strength of the joint and increase the risk of pipe bursting. Maintaining the stability and uniformity of welding pressure is an important part of welding quality control.
Methods to determine whether the welding pressure is uniform
1. Check the flange size and shape
After the hot melt butt is completed, a symmetrical flange (bead) will form on both sides of the weld. The size, shape, thickness and symmetry of the flange can be used as an intuitive basis for judging whether the pressure is uniform. In ideal state, the flange should be arc-shaped, symmetrical, and consistent in thickness, without rising, collapse or offset. If one side of the flange is thick or there is an asymmetric bulge, it means that one side is under a large pressure or is not connected properly, and there is a problem of welding pressure deviation.
2. Observe the pressure gauge reading during welding
Standard hot melt docking machines are usually equipped with hydraulic systems and pressure gauge. During the welding process, the pressure value should be strictly controlled within the specification range (generally between 0.15-0.25 N/mm², depending on the diameter and wall thickness). By monitoring the pressure gauge in real time, observing whether there are obvious fluctuations or insufficient pressure is an important means to judge whether the pressure is uniform or not. The welding machine should be calibrated regularly to ensure accurate pressure readings.
3. Check the contact marks of hot plates
During the hot melting process, uniform heating traces should be formed in the contact part of the heating plate and the pipe end. When removing the heating plate after heating, you can observe whether the melted layer has the characteristics of uniform thickness and uniform color at the end of the tube. If local inadequate melting, burning, thin melting layer is found, it may be caused by insufficient local pressure or poor contact.
4. Assess the end-to-end docking situation
Before docking, use an electric milling cutter to trim the end face of the pipe fitting to ensure that the end face is flat and perpendicular to the axis. When connecting, the tight fit of the two end faces should be checked. If there are gaps, inclines, or incomplete contact at the end of the pipe, it will inevitably lead to uneven stress and the welding pressure cannot be transmitted evenly. You can use a micrometer or a light gap meter to detect whether the end surface error is within the allowable range.
5. Use the data recording function of the automated welding machine
Modern automated HDPE welding equipment is equipped with a data recording system, which can automatically record the temperature, time and pressure curves during the entire welding process. By derive the welding data, whether the pressure is stable at each stage, and whether the boosting and holding processes meet the standard settings. An abnormal data curve (such as sudden decline or jump) is an important basis for judging uneven pressure.
6. Conduct weld profile inspection
In actual projects, some welded joints can be sampled and cut and observed the internal fusion of the weld. Under ideal conditions, the welding interface should be free of obvious defects such as layering, pores, inclusions, etc. If the section shows poor fusion or uneven density, it means that the welding pressure control is unstable. Although this method is destructive testing, it is of great guiding significance for quality assessment.
7. Perform welding sample damage test
The mechanical properties test methods such as tensile, bending, and peeling of the test piece are used to check whether the welded joints meet the strength standards of the base material. Failure to meet the test results may be due to insufficient interface fusion caused by uneven pressure. Test data can be used as the basis for process verification and on-site quality control.
8. Observe the changes in welds during cooling
The docking pressure needs to be maintained during the cooling stage after welding to ensure that the molten layer is fully solidified. If the pressure suddenly releases or decreases during the cooling process, weld shrinkage and internal cracks are likely to occur. By continuously observing whether the joints cause warping, flange retraction and other phenomena within a few minutes after cooling, we can judge whether the pressure during the cooling period is uniform.
KEEP IN TOUCH


