


 English
 中文简体
中文简体 русский
Industry news

How to Drain a Pond with a Siphon | Step-by-Step Guide
 2026.08.10
 Industry news
Why Siphon Drainage Is the Smart Choice for Pond Owners
Wondering how to drain a pond with a siphon? The simplest method runs on gravity, a length of pipe, and a few fittings — no pump, no fuel, and no moving parts. When the water needs lowering for dam repair, a worn liner, or dredging, a siphon moves thousands of gallons per hour while you work on other things.
A pump can do the same job, but adds power cords, fuel, and maintenance from clogged debris. A siphon runs unattended until the water level drops below the intake or you close a valve.
Be clear about the limits: the discharge end must sit below the pond surface, the pipe must be fully filled with water to start, and a siphon will not suck the bottom dry — it usually leaves a few inches in the deepest point. If a spring feeds the pond, the inflow can stall the drawdown entirely, a situation pond owners report from the field.
Best jobs for a siphon: dam or liner repair, pre-draining for dredging, fish health drawdowns, freeze protection, and flushing stale water.
Understanding Siphon Physics Before You Start
Siphon flow comes down to gravity plus atmospheric pressure. Once the pipe is full, water falling from the discharge end pulls water up the intake side and over the crest, while air pressure on the pond surface pushes water into the intake.
Three variables control the flow rate:
- Head — the vertical drop from the pond surface to the discharge end. More head means faster flow.
- Pipe inner diameter — a wider bore carries more water with proportionally less friction.
- Friction losses — every foot of pipe and every elbow slows the stream.
One physical limit matters for planning: atmospheric pressure cannot support a water column higher than about 10 meters (33 feet), so the highest point of the pipe must stay below that, lower still in practice once friction is counted. Normal pond banks are well inside this range.
What You'll Need: Materials and Tools Checklist
You can assemble a complete siphon from a hardware store in about an hour:
- Main pipe: 2-inch or 4-inch HDPE or PVC. HDPE is flexible and UV-stable; PVC is rigid and easy to glue. Choose pressure-rated pipe, such as Schedule 40, not thin drainage line.
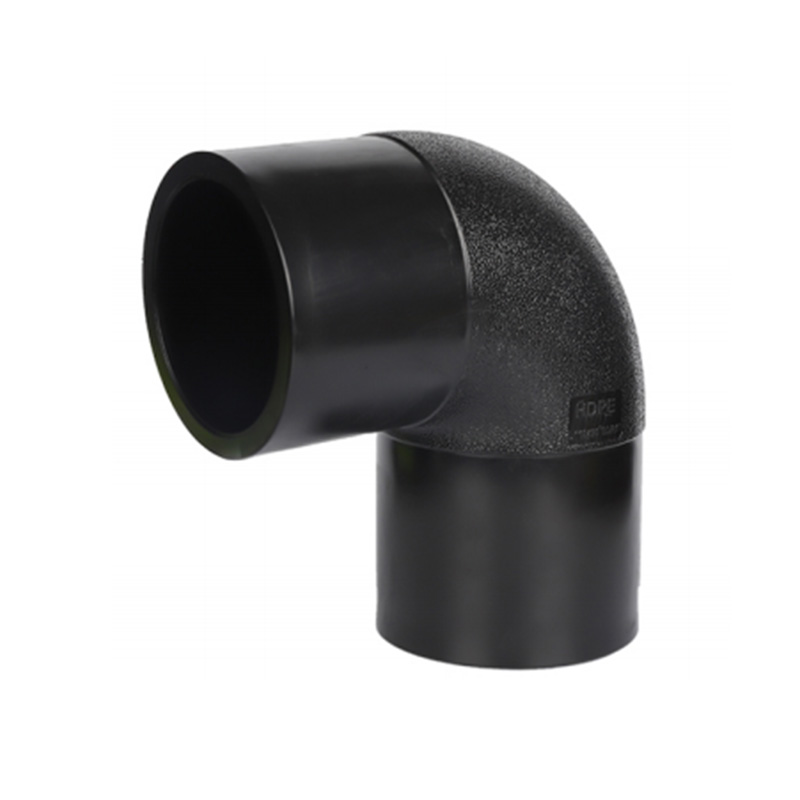
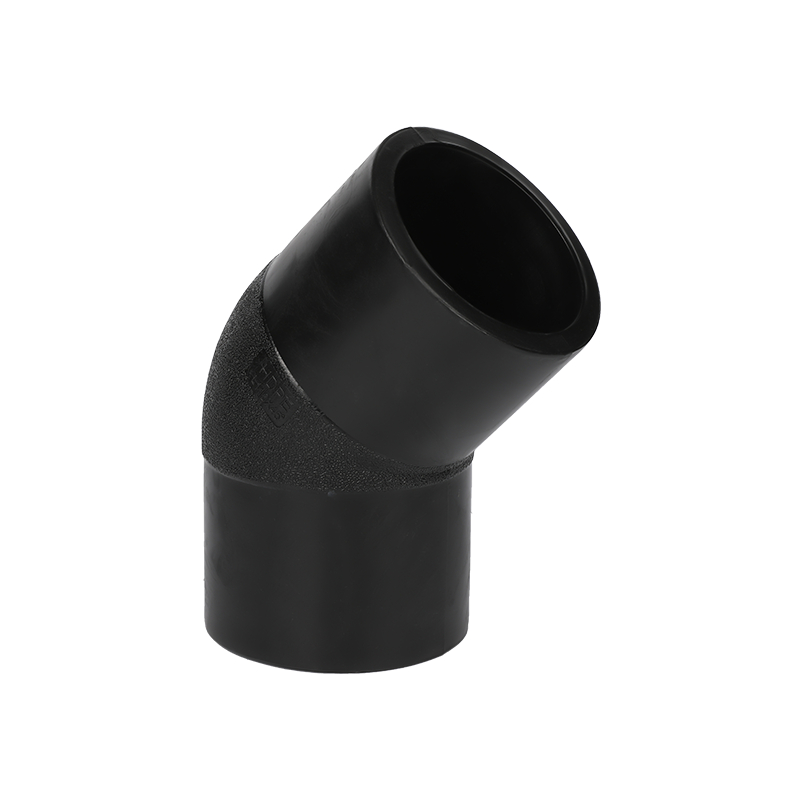
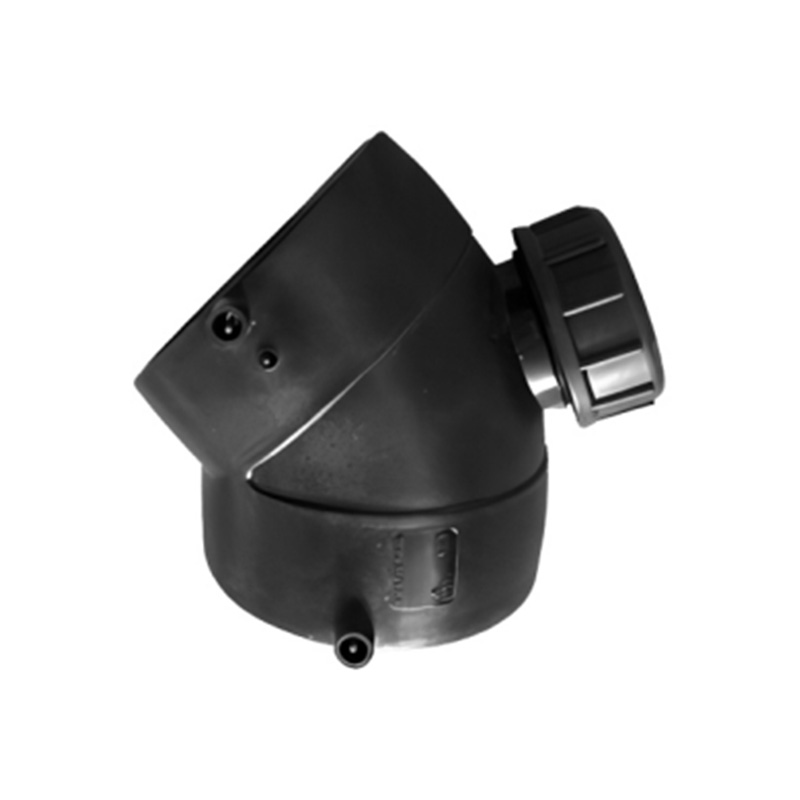
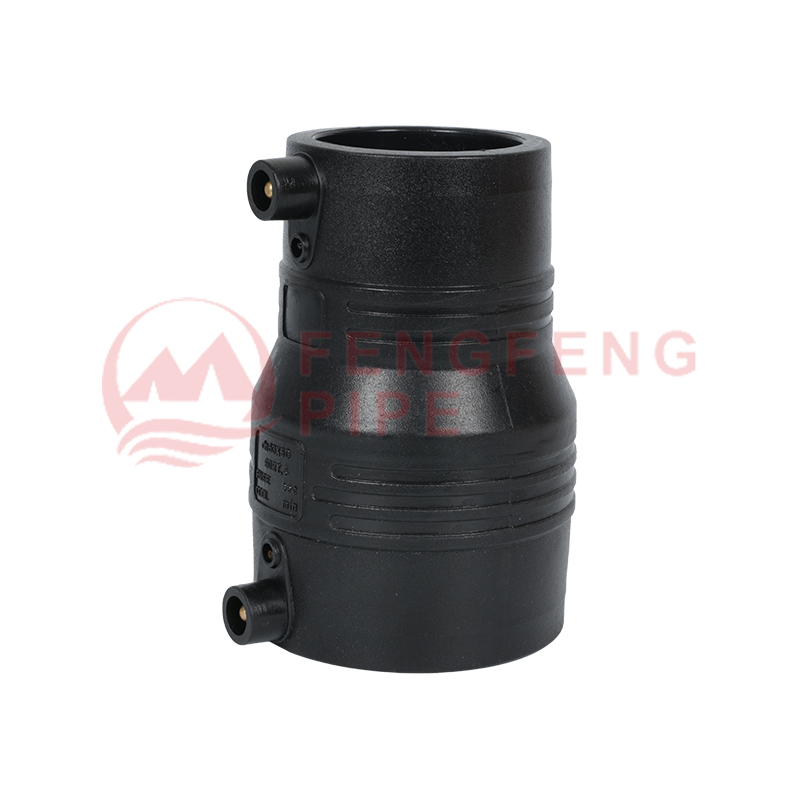
- Fittings: 90-degree elbows for the dam crest, a ball or gate valve for flow control, reducers for priming connections, and end caps for the two-cap starting method.
- Seals: PVC primer and solvent cement, or the rubber gaskets and hose clamps matched to flexible pipe.
- Priming tools: a large funnel, a garden hose, or a small transfer pump.
- Anchoring and protection: bricks or sandbags to hold the intake down, plus a mesh strainer over the opening.
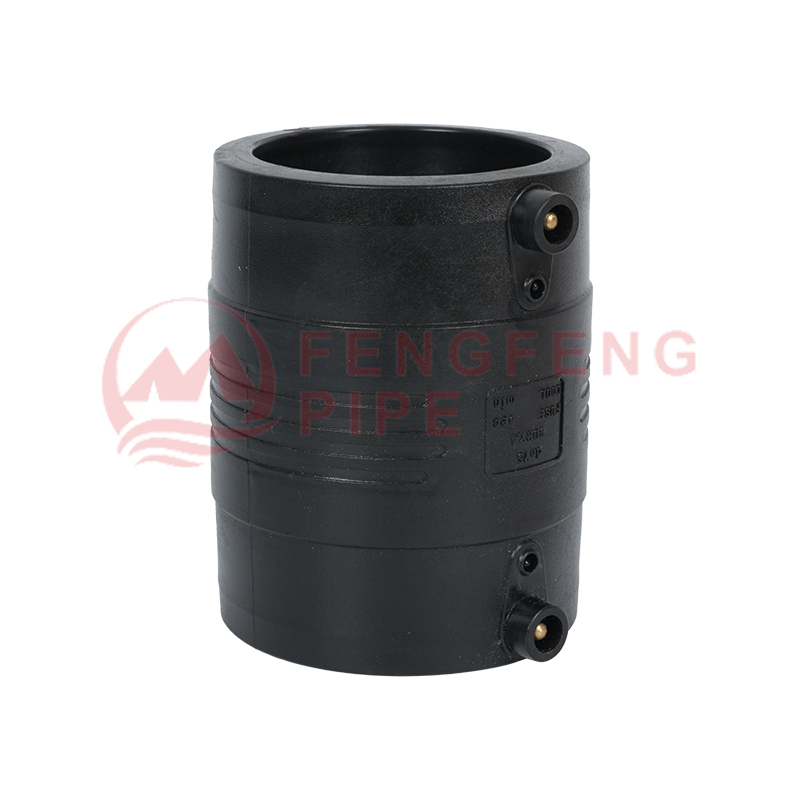
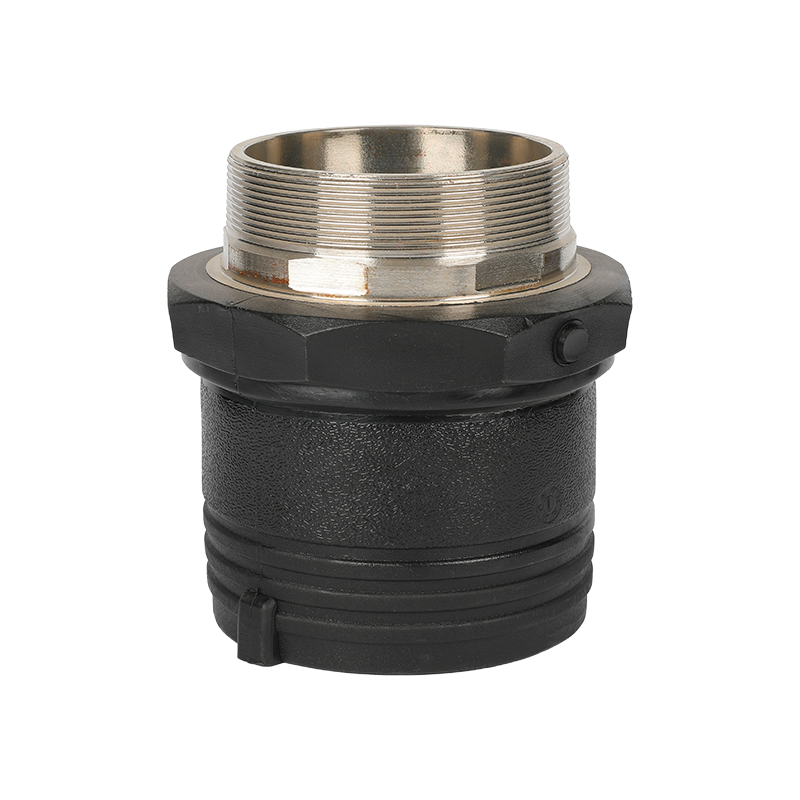
Match fittings to the pipe material and choose pressure-rated components; weather resistance matters.
Step-by-Step: How to Set Up and Start the Siphon
- Plan the route and check the head. Measure the vertical drop from the pond surface to the discharge point. The discharge end must be lower than the water line. Route the water to a location entirely on your property — an existing ditch, swale, or vegetated low area.
- Anchor the intake. Place it in the deepest part of the pond, about 15 to 30 cm (6-12 inches) above the bottom so it does not suck up mud. Tie a brick or sandbag to the line and fit the strainer over the opening.
- Lay the pipe over the dam. Run the line along the slope, turn over the crest with one 90-degree elbow, and let the discharge side run downhill. Avoid kinks and sharp bends, which trap air and slow the flow.
Step 4: Fill the pipe and start the flow. Three priming methods work reliably:
Method A: Fill and Submerge
Hold the intake end above the water, pour through a funnel until water flows steadily from the outlet, then quickly submerge the intake fully. The filled pipe keeps the flow going on its own.
Method B: Two-Cap Fill
This field-proven technique eliminates air pockets. Cap both ends, fill the pipe completely from the outlet end, and reseal it. With the intake already underwater, remove the intake cap first, then the outlet cap; flow starts immediately. For a temporary setup, fill and cap the pipe on the bank, lay it over the dam, then pull the caps in the same order.
Method C: Pump-Assisted Priming
Inject water through the outlet end with a small transfer pump or a shop vac until the pipe is full, then disconnect. This is the easiest way to prime a long 4-inch line, which holds a lot of water.
- Control and monitor. Install a ball or gate valve at the outlet to stop or throttle the flow, check the intake hourly for clogs, and remember the siphon stops on its own when the level drops below the intake.
Choosing the Right Pipe Size for Your Pond
Pipe diameter is the biggest decision. As a practical rule of thumb, doubling the diameter roughly quadruples the flow, because a wider bore carries more water and loses less energy to friction. A 4-inch line therefore moves roughly four times as much as a 2-inch line.
| Pipe size | Relative flow | Best use | Priming effort |
|---|---|---|---|
| 1 inch | Baseline | Small ornamental pools and plant water features | Easy with a funnel or garden hose |
| 2 inches | About 4 times a 1-inch line | Landscape ponds in the 1,000 to 2,000 gallon range | Easy with a garden hose |
| 4 inches | About 4 times a 2-inch line | Quarter-acre and larger ponds, dam and liner repair, dredging preparation | Use the two-cap or pump-assisted method |
These are field approximations, not lab specifications. Owner reports fit the pattern: a 4-inch PVC line dropped a small pond roughly one foot per hour, while a 2-inch line took visibly longer.
Handling matters too. A 2-inch line suits one person; a 4-inch line is heavy and nearly requires the two-cap or pump-assisted prime. Match joints to the pipe — solvent cement for PVC, socket fusion or compression fittings for HDPE — and keep elbows to a minimum; each 90-degree bend adds friction.
Common Problems and How to Fix Them
Even a simple siphon occasionally misbehaves. Work through this checklist in order:
- The siphon will not start. The usual cause is an air pocket. Refill the pipe completely, confirm the intake stays submerged, and check that the discharge end is genuinely lower than the pond surface. Even a few inches of rise at the outlet stops the flow.
- The flow stops after running. The intake floated and sucked air, or debris clogged the strainer. Add weight to the intake and clean the strainer; leaves and grass are the usual culprits.
- The flow is slower than expected. Review the elbows, the pipe run, and the pipe size. An unnecessary bend can cost as much flow as stepping down a pipe size.
- Air bubbles stream out of the discharge. Air is leaking in at a joint, a crack, or a loose clamp. Inspect every connection and re-seal or replace the faulty section, including pinholes where flexible pipe rubs against rocks.
- The pond will not drain below a certain level. If a natural spring feeds the pond, the inflow can match the siphon and stop the level at the spring line — a physical limit, not a setup error. Otherwise, reposition the intake to the deepest point, slightly above the bottom.
Safety and Environmental Considerations
Check where the water goes. The discharge must stay on your own property — never into a neighbor's land, a roadway, or a municipal storm drain. Some local governments regulate pond discharges, so confirm the rules before you open the flow.
Prevent erosion. A fast siphon stream can cut a gully in soft ground within an hour. Place stones, a section of geotextile fabric, or a straw bale at the outlet, and aim the water into an existing ditch or a well-vegetated area.
Protect fish and wildlife. Plan the drawdown so fish can be gathered before the water gets too shallow. Wet, freshly exposed banks are slippery and may slump under weight.
Keep people safe. The pipe crossing a path is a tripping hazard, and supervise children near the open intake. In drought-prone areas, consider whether a full drawdown is necessary; if the water is clean, route it to irrigation or another pond.
Beyond the Siphon: Professional Drainage and Permanent Setups
A siphon is the right tool for lowering a water level, not for drying out a large, deep basin completely. When the bottom must be fully exposed for excavation, use the siphon for the first stage and finish the last stretch with a submersible or trash pump.
For ponds drained on a regular schedule — aquaculture, irrigation storage, or annual sediment control — a fixed siphon with a valve at the outlet pays for itself after one season. Anchor the intake permanently, lay the pipe on a stable base, and the system is ready whenever you need it.
The durability of that installation depends on the pipe and fittings. Outdoor exposure punishes thin pipe and poorly sealed joints; HDPE handles UV, ground movement, and corrosion far better than most alternatives. That is the engineering perspective behind this guide, and the focus of our work as a pipe manufacturer since 2002.
Set the intake low, keep the pipe full, and give gravity a clear downhill run. With those three basics, draining a pond with a siphon becomes a calm, predictable job.
KEEP IN TOUCH

About Us
Zhejiang Fengfeng Pipe Industry Co., Ltd. uses efficient single screw injection molding machines for high productivity and low energy use.
Products link
Contact
-

+86-19858193396
+86-13735359894 -

+86-0574-63555288
-

-

No. 21, Market Road, Diankou Town, Zhuji City, Shaoxing City, Zhejiang Province, China