


 English
 中文简体
 русский
Industry news
 Home / News / Industry news / How to Install HDPE Compression Fittings Without Leaks: A Practical Field Guide
How to Install HDPE Compression Fittings Without Leaks: A Practical Field Guide
 2026.11.11
 Industry news
The Leak Starts Before the Wrench Turns
A leaking HDPE compression fitting is usually not a failed fitting. It is a failed interface between the pipe, the seal, the nut, and the installer's hand. The joint can look correct from the outside and still weep at the first pressure test because the pipe was cut slightly out of square, the insert was not seated, or the nut was tightened past the point where the O-ring could recover.
The practical conclusion is simple: control the pipe end, confirm full insertion, and tighten to seal contact rather than to maximum effort. Everything else in a compression joint depends on those three conditions.
Square cut
A crooked cut loads one side of the seal harder than the other. The result is a joint that passes a low-pressure check and fails after thermal cycling.
Full insertion
If the pipe stops short of the internal shoulder, the seal works on the wrong diameter and the nut has insufficient thread engagement.
Controlled tightening
Extra force does not create a better seal. It distorts the ring, stretches the thread, and makes the next service visit harder.
For site teams, the useful question is not "How tight should it be?" but "What evidence shows the joint is ready to be tightened?" That evidence comes from pipe measurement, cut quality, insertion depth, and a clean sealing surface.
Read the Pipe Dimensions Before You Open the Carton
HDPE compression fittings are sized by outside diameter, but the pipe wall and the fitting's internal bore must still work together. Two pipes marked 63 mm can have different wall thicknesses, and a fitting designed for one pressure class may not compress the seal correctly on another. Check the pipe OD, wall thickness, and SDR before assembly. If the fitting uses a stiffener or support sleeve, confirm that it matches the pipe bore and that it can pass the insertion mark.
Measure with a caliper at three points around the pipe end. Out-of-round pipe is common after coil storage, and an oval end can push the O-ring to one side. If the ovality is visible, cut back beyond the deformed section and re-check. A clean, round end is more valuable than a fast start.
| Check | What to verify | Why it matters |
|---|---|---|
| Pipe outside diameter | Measure at three points and compare with the fitting size. | An undersized pipe reduces seal compression; an oversized pipe can prevent full insertion. |
| Wall thickness and SDR | Confirm the pipe pressure class and the fitting's intended range. | A thin-wall pipe may need a stiffener to stop inward collapse under nut load. |
| Cut angle | Check with a square or a straight edge. | An angled cut creates uneven seal contact and a leak path. |
| Burr and scratch condition | Run a finger around the cut edge and inspect the sealing zone. | Burrs cut O-rings; deep scratches give water a path past the seal. |
| Insertion mark | Mark the pipe at the fitting's stated insertion depth. | A visible mark removes doubt during tightening and inspection. |
Do not rely on the fitting's external body length as an insertion gauge. The correct depth is the distance from the pipe end to the internal stop, and it varies by design, size, and whether a support sleeve is used.
The Installation Sequence That Prevents Leaks
The sequence below is written for a standard HDPE compression fitting with a nut, a split ring or grip ring, and an O-ring. Some products use a different internal arrangement, so read the manufacturer's instruction first. The principle remains the same: prepare the pipe, seat the components in order, insert fully, and tighten in a controlled way.
- Isolate and drain the line. Confirm that pressure is released and that the pipe is cool enough to handle. A joint assembled under residual pressure can shift after the nut is released.
- Cut the pipe square. Use a plastic pipe cutter or a fine-tooth saw. A square cut is the reference for every later step. If the cut is visibly angled, cut again.
- Remove burrs and chamfer lightly. A small chamfer helps the pipe enter the seal without scraping. Do not create a knife edge or reduce the pipe wall.
- Clean the sealing zone. Wipe away soil, oil, water, and cutting dust. Solvent is not always compatible with HDPE; use a clean dry cloth unless the fitting supplier approves a specific cleaner.
- Slide the nut and ring onto the pipe in the correct order. This is the most common assembly error. The nut must face the fitting body, and the ring must sit on the correct side of the nut.
- Insert the pipe to the marked depth. Push firmly until the pipe reaches the internal stop. If it stops early, remove it and inspect for a folded seal, a displaced ring, or a burr.
- Hand-tighten the nut first. Bring the nut down until it contacts the body. The pipe should still be fully seated and should not rotate freely.
- Tighten to seal contact. Use the manufacturer's torque value or the specified number of turns. If no value is given, a practical starting point is hand-tight plus a quarter turn for many small-diameter fittings, then check for leaks under low pressure.
- Hold the body while tightening. Use a second wrench on the fitting body so the pipe and seal do not rotate. Rotation can pull the pipe out of the stop or twist the O-ring.
- Mark the tightened position. A small alignment mark on the nut and body helps maintenance staff see whether the joint has moved.
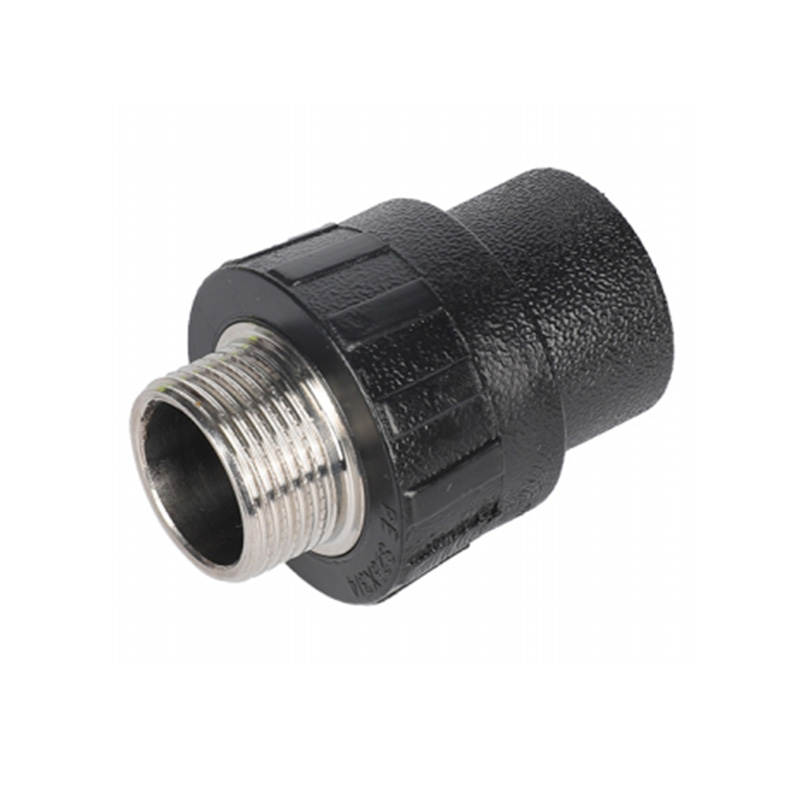
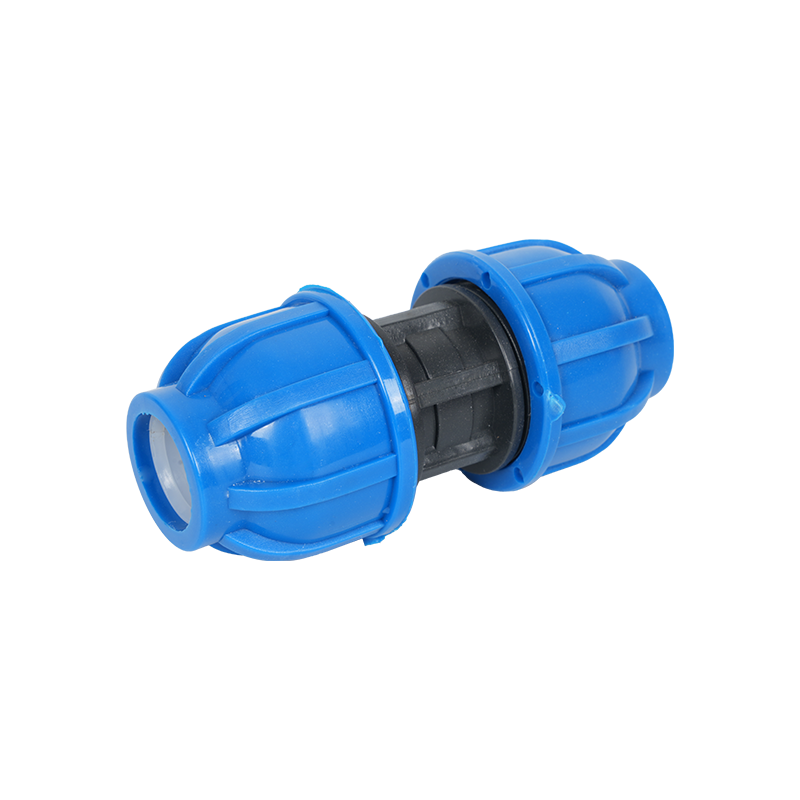 PE & PP Compression Socket FittingUseful for straight pipe connections where two same-diameter PE or PP pipes need a simple, weld-free compression joint.View Product →
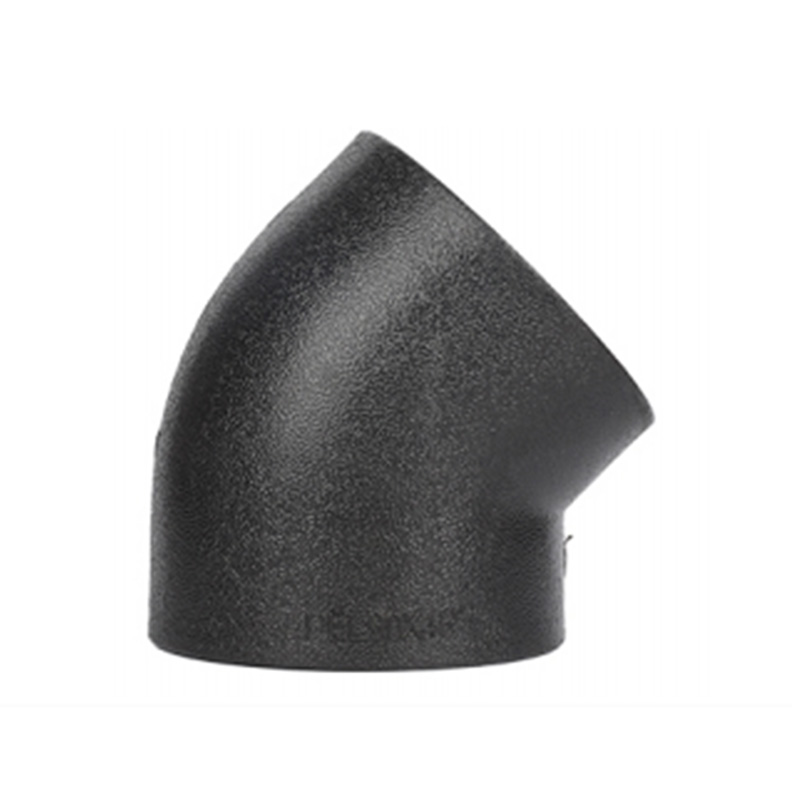
For straight couplings and transition points, keep a small stock of the exact size and pressure class on site. A correct coupling used once is cheaper than a wrong coupling reworked twice. The same logic applies to elbows at changes of direction: a factory-formed elbow reduces stress at the joint and gives the installer a known insertion depth.
Field rule: If the pipe will not reach the insertion mark with hand pressure, stop. Do not use the nut to pull the pipe in. Forcing the nut can fold the seal and create a leak that only appears after the line is buried or pressurized.
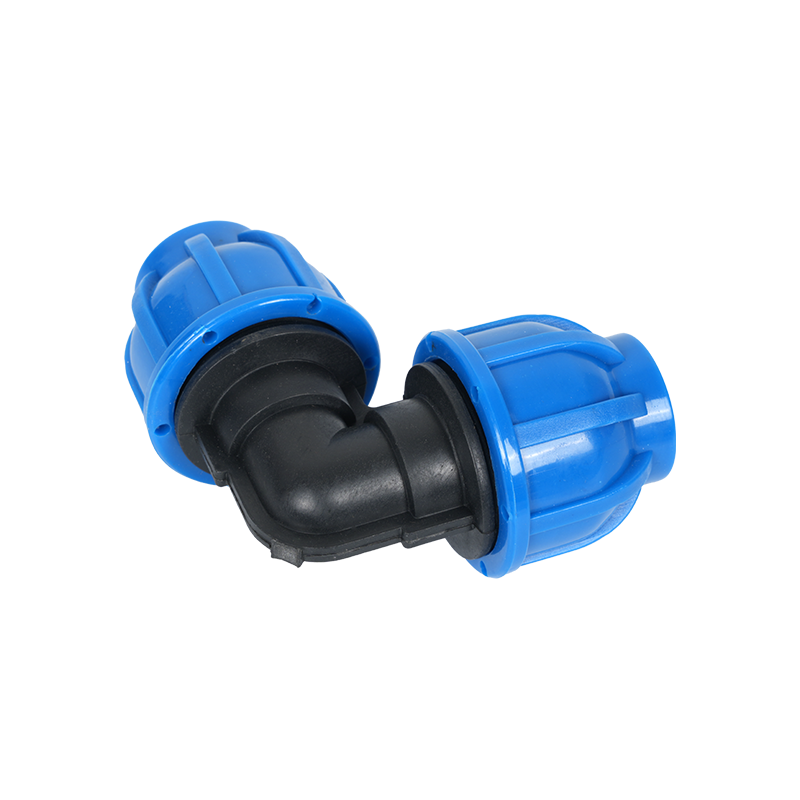 PE & PP Compression 90° Elbow FittingFor 90-degree direction changes in PE or PP piping, this compression elbow avoids welding and gives a defined bend at obstacles.View Product →
At a 90-degree change of direction, support the pipe on both sides of the elbow before tightening. Unsupported pipe can settle after backfill and apply a bending load to the compression nut.
Tightening Without Distorting the Seal
Tightening is where good preparation is often undone. The nut has to compress the ring and load the O-ring, but it does not need to crush the pipe or bottom out the thread. Once the seal is made, additional force increases friction and thread stress without improving leak resistance.
Use a torque wrench where the fitting supplier provides a value. Where no value is available, tighten in small increments and check at low pressure between increments. A joint that weeps at 0.5 bar should be corrected before the system reaches test pressure. Waiting for the final test hides the cause and makes the repair more expensive.
Hand-tight only
Hand-tight plus quarter turn
Heavy wrench pressure
Temperature changes the feel of the joint. A fitting assembled in cold weather may need a little more travel to compress the seal, while a fitting assembled in direct sun may feel tight before the seal is fully loaded. Let the pipe and fitting reach a stable site temperature before final tightening, and re-check the joint after the line has operated through one warm-cool cycle.
Do not use thread tape or paste on the compression nut unless the manufacturer explicitly requires it. The seal is made by the O-ring or ring compression, not by the thread. Sealant on the thread can travel into the waterway, contaminate the line, and give a false sense that the joint is sealed.
If the nut has been over-tightened, do not simply loosen it and continue. Remove the nut, inspect the ring and O-ring for distortion, check the pipe end for crush marks, and rebuild the joint with new sealing components if there is any doubt.
Pressure Testing, Flushing, and Handover
Test the joint before it disappears under backfill, insulation, or a service duct. A staged test is more informative than one high-pressure event. First check that the line is filled and air is released. Then bring the pressure up slowly and hold at a low stage long enough to see a weep. Finally, raise to the specified test pressure and observe the joint, not only the gauge.
Follow the project's test pressure and hold time. There is no universal number that applies to every HDPE pipe class, joint type, or service condition. The test should be appropriate to the pipe's pressure rating and the fitting's design. Record the gauge reading, water temperature, hold time, and any visible leakage. A joint that passes with a dry exterior and a stable gauge is ready for the next stage.
For a practical leak-test sequence that complements compression fittings, see this guide to leakproof HDPE pipe connections. It helps site teams separate test-method errors from joint-assembly errors.
| Observation | Likely cause | Practical correction |
|---|---|---|
| Weep at the nut thread | Seal not loaded or nut not advanced enough | Check insertion depth, then tighten in small increments to the specified value. |
| Leak between pipe and ring | Pipe scratched, oval, or cut at an angle | Cut back the damaged section, re-square, and rebuild the joint. |
| Leak at the fitting body | Body crack, damaged thread, or mismatched component | Replace the fitting; do not attempt to seal a cracked body with tape. |
| Joint moves under pressure | Pipe not fully inserted or nut over-tightened | Depressurize, inspect the seal and pipe end, and rebuild with correct insertion. |
| No leak at low pressure, leak after warming | Thermal movement or insufficient seal recovery | Allow the line to stabilize, re-check tightness, and confirm pipe support. |
After a successful test, flush the line according to the project specification. Debris trapped at the seal can hold the O-ring off its seat. If the line is flushed after the test, inspect the joint again once flow has stopped and pressure has been restored.
Compression Fittings vs. Fusion: Choose by Site Reality
Compression fittings are often chosen where the pipe cannot be rotated, where fusion equipment is impractical, or where a repair needs to be completed quickly. Fusion remains the stronger choice for buried, high-pressure, or long-service lines where a homogeneous joint is required. The decision should be based on the line's pressure class, access, inspection requirements, and the consequence of a leak.
| Consideration | Compression fitting | Fusion joint |
|---|---|---|
| Installation speed | Fast for small and medium diameters with dry, accessible pipe ends. | Requires heating, alignment, and cooling time. |
| Equipment need | Hand tools and a torque wrench; minimal power demand. | Fusion machine, power supply, and trained operator. |
| Repair access | Useful where a short section must be replaced without large pipe movement. | Requires enough free pipe length for the fusion tool. |
| Buried service | Acceptable where the fitting is protected, supported, and specified for burial. | Preferred for continuous buried lines and high-pressure service. |
| Inspection | Check insertion mark, tightening mark, and test result. | Check bead, alignment, and fusion record. |
Do not use a compression fitting as a substitute for a fusion joint simply because the fusion machine is delayed. A temporary compression repair can be acceptable for a short, low-risk section, but it should be reviewed against the line's service conditions and the project's acceptance criteria.
Site Conditions That Change the Tightening Point
Cold weather makes HDPE stiffer and reduces the feel of seal compression. Hot weather makes the pipe more flexible and can soften the sealing zone. Windblown dust and mud are more damaging than many installers expect because they sit exactly where the O-ring must seal.
Keep the pipe end covered until assembly. If the fitting is assembled in a trench, use a clean cloth or cap to protect the opening. Do not set the nut in sand or soil while preparing the pipe. A single grain trapped under the O-ring can create a slow weep that is difficult to find after backfill.
In freezing conditions, bring the fitting and seal components to a workable temperature before assembly. Do not heat the O-ring with an open flame. Warm the fitting body gently if the manufacturer permits it, and keep the seal in a clean container until the moment of installation. For more on environment-related installation decisions, review this guide to choosing the installation environment for HDPE pipe fittings.
Where the line is exposed to UV, protect the fitting with an appropriate wrap or enclosure. Where the line is buried, place bedding material free of sharp stones around the joint and support the pipe so the nut is not carrying soil load. Movement after backfill is a common reason a joint that passed the test begins to weep weeks later.
Common Mistakes and Practical Corrections
Cutting with a dull saw
A dull blade tears the pipe and leaves a rough sealing surface. Use a sharp plastic pipe cutter or a fine-tooth saw, then remove burrs with a deburring tool.
Forgetting the nut or ring
Once the pipe is inserted, the nut cannot be added without cutting the line. Lay out the components in order before insertion and keep them within reach.
Using the nut to pull the pipe in
This folds the seal or strips the thread. If the pipe will not reach the stop, remove it and find the obstruction.
Tightening without a backup wrench
The body can rotate and pull the pipe off the stop. Hold the body steady while turning the nut.
Testing with air only
Air can pass a joint that water will not, and it stores energy. Use the project's approved test medium and follow the safety procedure.
Backfilling before inspection
Once buried, a weep is expensive to locate. Mark the joint, inspect it after pressure testing, and photograph the installation if the project requires records.
A useful corrective habit is to build one joint as a trial before starting the full run. Pressure-test the trial joint, inspect the insertion mark, and confirm the tightening turn count. That small step gives the crew a known-good reference and exposes mismatched components before the trench is full of pipe.
Inspection and Maintenance After Commissioning
After commissioning, inspect accessible compression joints for movement, moisture, and deformation. A joint that has shifted slightly under thermal expansion may still be sealed, but it should be watched. Mark the nut position so a later inspection can show whether it has rotated.
Do not re-tighten a joint that is not leaking just because it feels loose. Some movement is normal in a flexible HDPE system. Re-tightening can over-compress the seal and create a leak where none existed. If a weep is confirmed, depressurize the line, inspect the pipe end and seal, and rebuild the joint rather than adding force.
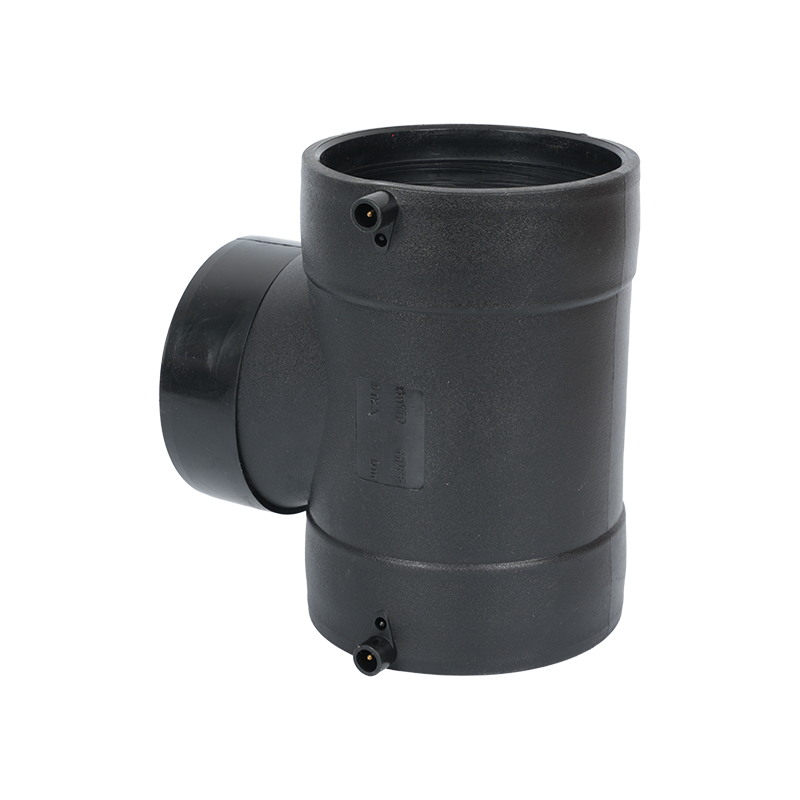
 PE & PP Compression Reducing TeeConnects a smaller branch to a main PE or PP pipe at a T-junction, giving a defined reducing bore and compression seal without welding.View Product →
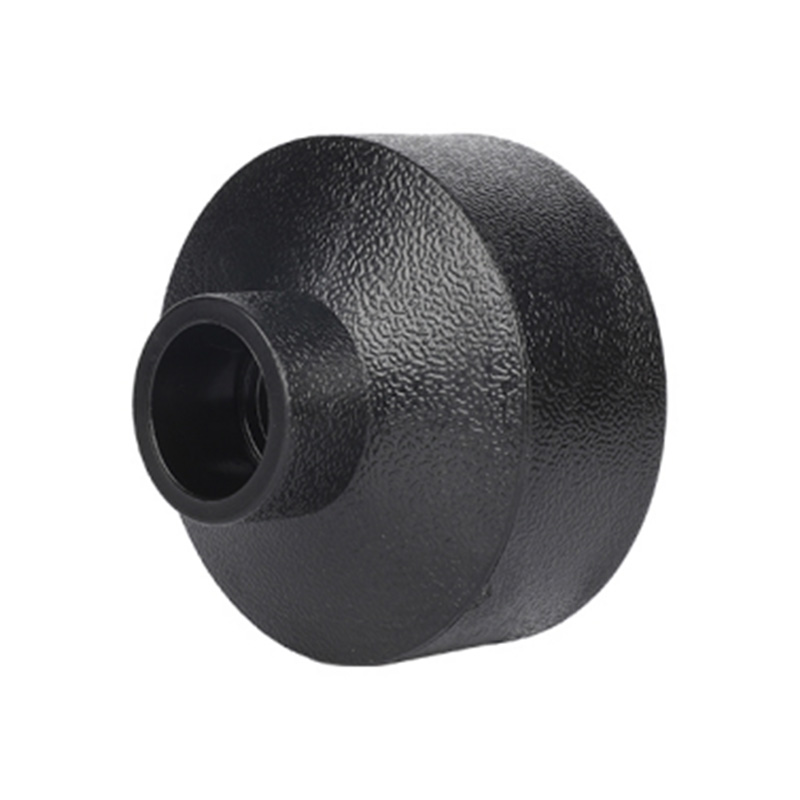
At branches and size transitions, use the correct reducing fitting rather than forcing a smaller pipe into a larger seal. A reducing tee gives the installer a defined bore and insertion depth, which is safer than mixing components from different size ranges.
Keep a maintenance record for each accessible joint: size, pipe SDR, installation date, tightening method, test pressure, and inspector. When a leak does occur, the record shortens the diagnosis and shows whether the issue is isolated or repeated across a batch.
Procurement Checklist for Leak-Free Projects
The cheapest fitting is not the one with the lowest unit price. It is the one that matches the pipe, arrives with a known pressure rating, and can be installed without rework. Use the checklist below when specifying and receiving HDPE compression fittings.
- Confirm the fitting size is based on pipe outside diameter, not nominal pipe size alone.
- Match the fitting pressure class to the pipe SDR and the service condition.
- Check that the seal material is compatible with the conveyed fluid and site temperature.
- Ask for insertion depth, tightening torque, and turn-count instructions with the product.
- Inspect cartons for crushed bodies, missing nuts, or displaced O-rings before dispatch to site.
- Keep seals in sealed bags until installation; do not store them loose in a tool bucket.
- Order a small surplus of the most-used sizes so a damaged joint can be rebuilt without delaying the line.
- Require a trial assembly and pressure check before the crew begins the main run.
For projects with mixed pipe classes, label the fittings by size and pressure class at the warehouse. A correctly molded fitting installed on the wrong pipe is still a leak waiting to happen. Clear labeling and a short pre-installation check are more effective than a larger stock of spare parts.
FAQ
How tight should an HDPE compression fitting be?
Start hand-tight, then follow the manufacturer's torque or turn specification. Where no value is given, hand-tight plus a quarter turn is a common starting point for small fittings, followed by a low-pressure leak check. The joint should be sealed without crushing the pipe or distorting the ring.
Why does my compression fitting leak at the nut thread?
The seal is probably not loaded, the pipe may not be fully inserted, or the nut may have been started cross-threaded. Depressurize the line, check the insertion mark, inspect the O-ring and ring, and rebuild the joint if the seal is distorted.
Can I use thread tape on an HDPE compression fitting?
Usually no. The thread is not the primary seal in most compression designs. Tape or paste can interfere with thread engagement and carry debris into the waterway. Use sealant only if the fitting manufacturer specifically requires it.
How do I know the pipe is fully inserted?
Mark the pipe at the stated insertion depth before assembly, then push until the mark reaches the fitting body or the pipe contacts the internal stop. If the mark remains visible, the pipe is not fully seated.
Should I pressure test with air or water?
Use the test medium and procedure approved for the project. Water is common for leak testing because it is visible and stores less energy than compressed air. Air testing requires specific safety controls and should not be improvised.
Can a compression fitting be buried?
Only if the fitting is specified for buried service and is protected from soil movement and sharp bedding. Support the pipe on both sides, keep the joint free of grit, and inspect it before backfill. For high-pressure or long-service buried lines, a fusion joint is often the more robust choice.
What should I do if the fitting leaks after backfill?
Expose the joint, depressurize the line, and inspect the pipe end and seal. Do not keep tightening a buried joint. Rebuild the connection with a clean, square pipe end and a new seal if there is any sign of damage or contamination.
KEEP IN TOUCH

About Us
Zhejiang Fengfeng Pipe Industry Co., Ltd. uses efficient single screw injection molding machines for high productivity and low energy use.
Products link
Contact
-

+86-19858193396
+86-13735359894 -

+86-0574-63555288
-

-

No. 21, Market Road, Diankou Town, Zhuji City, Shaoxing City, Zhejiang Province, China